For those with the daunting task of connecting a VyOS or Ubiquiti EdgeOS device to a Windows Network Policy (NPS) for authentication via Radius for L2TP over IPsec , I present the following instructions:
- Setup your L2TP/IPSec server using local accounts first.
Before diving into radius auth with Window’s NPS, make sure you’ve setup your L2TP/IPSec server using local accounts. Try the following tutorials to get this setup: - Install the Network Policy Server (NPS) Role
Head on over to the Server Manager on the Windows 2008/2012 R2 Server that you would like to host the NPS role. This assumes that you have a full Active Directory domain setup. - Add a new Radius Client
Once you have the NPS role installed, head on over to Radius Clients to add a new Radius Client. Replace x.x.x.x with the internal IP address of your VyOS/EdgeOS device.
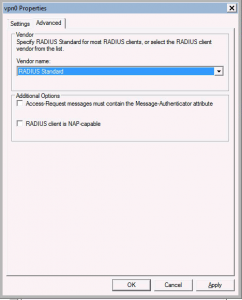
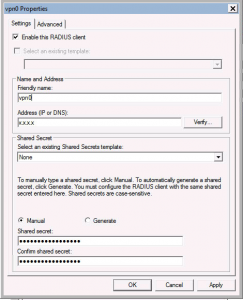
- Add new Connect Request Policy.
Use the following details when creating a new Connection Request Policy. If you don’t see the setting in a screenshot, keep the default settings.
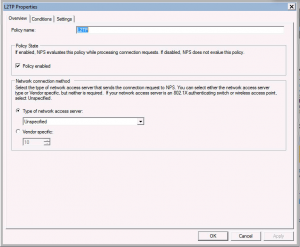
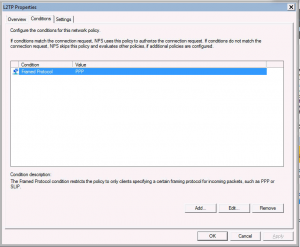
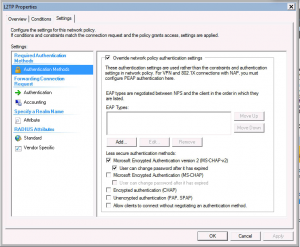
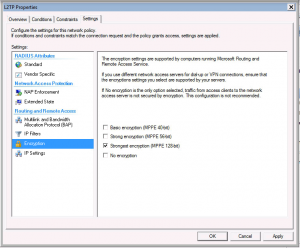
- Add new Network Policy
The following details will help your EdgeOS/VyOS device authenticate correctly. If you don’t see the setting in a screenshot, keep the default settings.
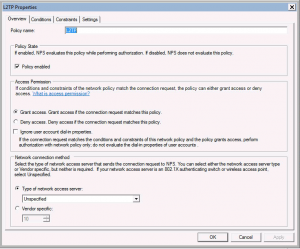
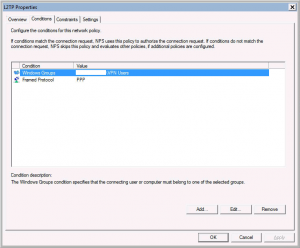
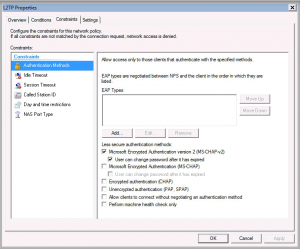
- Enable Radius on VyOS/EdgeOS
configure

set vpn l2tp remote-access authentication mode 'radius'

set vpn l2tp remote-access authentication radius-server x.x.x.x key '{shared secret here}'

commit - Enjoy your L2TP/IPSec VPN!
Feel free to leave a comment if you feel like something isn’t right or not working.